





Blog
How to Clean a Garbage Disposal: A DIY Guide
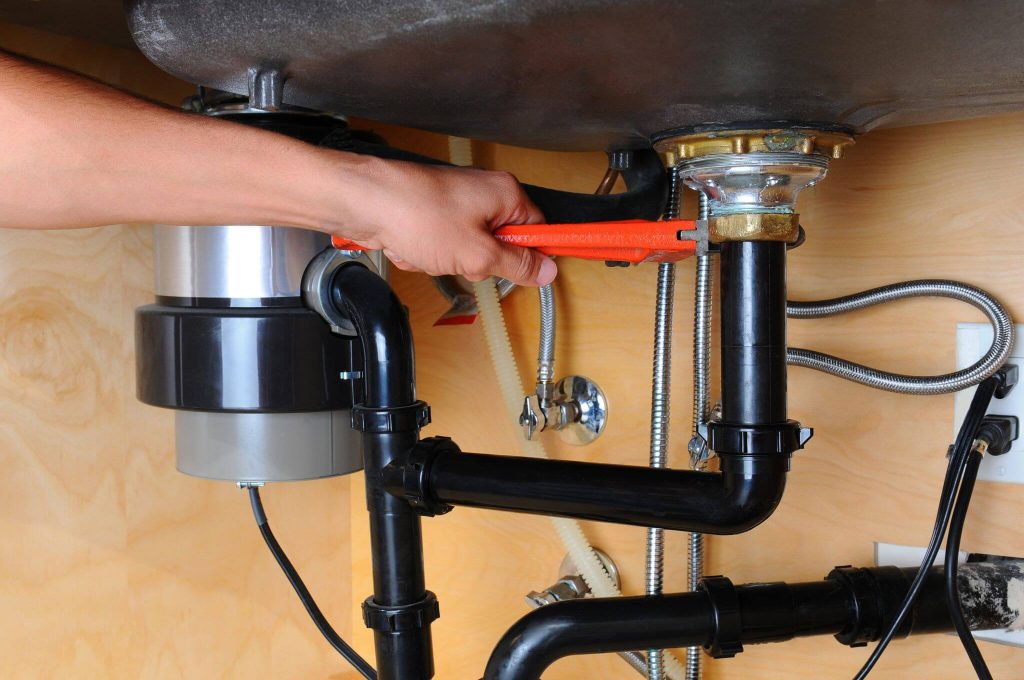
Food particles, grease, and residue collect inside a garbage disposal over time, creating odors, buildup, and drainage problems. Knowing how to clean a garbage disposal gives you a simple way to remove that buildup before it interferes with your kitchen sink.
This guide covers deep cleaning with common household supplies, weekly garbage disposal maintenance tips, what to keep out of the disposal, and signs that require professional kitchen plumbing service.
Schedule Online(502) 205-2482Tools and Supplies You'll Need to Clean Your Garbage Disposal
Gather these supplies before you start:
- ½ cup baking soda
- 1 cup white vinegar
- 1-2 cups ice cubes
- Lemon, lime, or orange peels
- Grease-cutting dish soap
- Hot and cold water
- Old toothbrush or small scrub brush
- Tongs or long-nosed pliers
- Flashlight
- Rubber gloves
Step-by-Step: How to Deep Clean Your Garbage Disposal
Step 1: Disconnect Power and Inspect the Disposal
Unplug the disposal beneath the sink or switch off its circuit breaker. Confirm the disposal has no power before cleaning.
Use a flashlight to inspect the chamber for utensils, bottle caps, large food pieces, or other debris. Remove visible objects with tongs or long-nosed pliers. Never put your hand inside the disposal.
Step 2: Clean the Rubber Splash Guard
Food residue and grime collect beneath the rubber splash guard and contribute to disposal odors. With the power still disconnected, lift the rubber flaps and scrub underneath them with warm, soapy water and an old toothbrush or small brush.
Clean around the upper chamber, remove visible buildup, and rinse the area with warm water.
Step 3: Apply Baking Soda and Vinegar
Sprinkle about ½ cup of baking soda into the disposal, followed by 1 cup of white vinegar. The baking soda and vinegar will fizz as they react, helping break down grease and food residue while neutralizing odors.
Let the mixture sit for about 10-15 minutes before moving to the next step.
Step 4: Flush with Hot Water
Run hot water into the disposal for one to two minutes. The water flushes away loosened debris and the remaining baking soda and vinegar mixture.
Keep grease, fats, and cooking oils out of the disposal rather than attempting to wash them down with hot water.
Step 5: Sharpen Blades and Remove Buildup with Ice
Garbage disposals use grinding components and impellers rather than traditional knife-style blades. Ice helps clean these components, dislodge buildup, and maintain the grinding surfaces.
Turn on cold water, restore power, and run the disposal while adding 1-2 cups of ice gradually. Continue until the ice has been ground completely.
Step 6: Deodorize with Citrus Peels
Lemon, lime, or orange peels add a fresh citrus scent after cleaning. Cut the peel into small pieces. With cold water and the disposal running, feed the pieces into the disposal gradually instead of adding a large amount at once.
Step 7: Final Rinse and Test
Run cold water for another 30-60 seconds to flush remaining material through the disposal and drain. Turn the disposal off and listen for unusual grinding, rattling, or humming.
Keep your hands and all cleaning tools clear of the sink opening while the disposal is powered. If the unit does not run normally during the final test, turn it off and stop troubleshooting.
Weekly Maintenance Tips to Keep Your Disposal Clean
Regular cleaning limits food buildup and odors between deep cleanings. Run cold water while using the disposal and continue the water briefly after grinding stops. Clean the splash guard regularly and remove food residue before it sits inside the chamber.
Avoid forcing large amounts of food into the disposal at once. If drainage begins slowing, address the problem instead of repeatedly running the disposal against a developing clog.
What NOT to Put in Your Garbage Disposal
Good disposal habits prevent jams and drain problems. Keep these items out:
- Fats, oils, and grease
- Large bones and hard objects
- Coffee grounds
- Large amounts of fibrous or starchy food
- Utensils, plastic, glass, and other nonfood items
Your disposal is designed to handle small amounts of appropriate food waste, not everything left over from meal preparation.
What If My Disposal Still Smells or Isn't Working?
Persistent odors after cleaning can come from residue farther inside the drain system rather than the disposal itself. If your kitchen sink drain smells bad, the sink or drain line may need additional attention.
Stop troubleshooting if the disposal leaks, repeatedly jams, hums without grinding, drains slowly, or does not operate after basic checks. Internal motor, electrical, and drain problems require professional diagnosis.
When to Call a Professional Plumber to Fix a Garbage Disposal
Greenwell Service handles garbage disposal repair and garbage disposal replacement throughout Louisville, New Albany, Southern Indiana, and Kentuckiana. Our technicians diagnose motor failures, persistent jams, leaks, damaged components, and kitchen drain blockages.
When a failed unit needs to be replaced, our plumbing installations include installing and connecting new equipment for the kitchen setup. Our licensed plumbers in Louisville also serve homeowners throughout Southern Indiana and the greater Kentuckiana area.
Call (502) 205-2482 or schedule online when cleaning does not solve the problem or your disposal needs professional repair or replacement.
Schedule Online(502) 205-2482